Instruction for the installation of the Square Gutter System
Table of Contents:
- Instruction for the installation of the Square Gutter System KROP
- Tools and equipment needed for assembly
- Important information
- 1. Preparation of the roof structure and installation of hooks
- 2. Determining the correct slope of gutters
- 3. Determining the position and preparing the opening for the drain funnel
- 4. Installation of the gutter connector
- 5. Installation of the universal bottom
- 6. Installation of the universal corner
- 7. Installation of a soil pipe
- 8. Completion of installation
Tools and equipment needed for assembly

Wood saw

Screwdriver
Level
Marking string
Measuring tape

Pencil
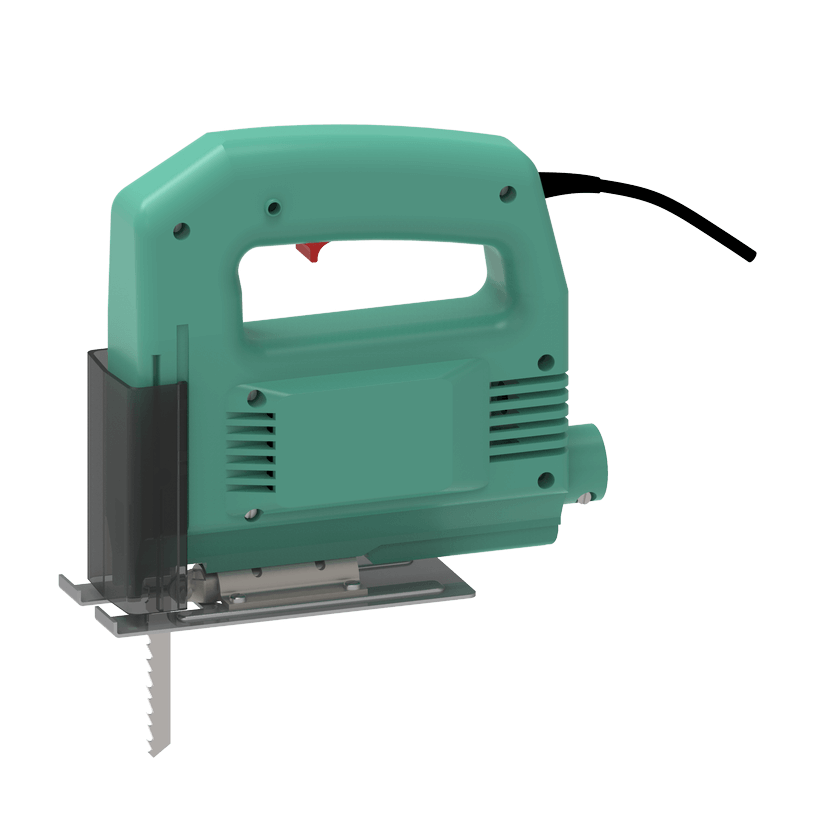
Jigsaw
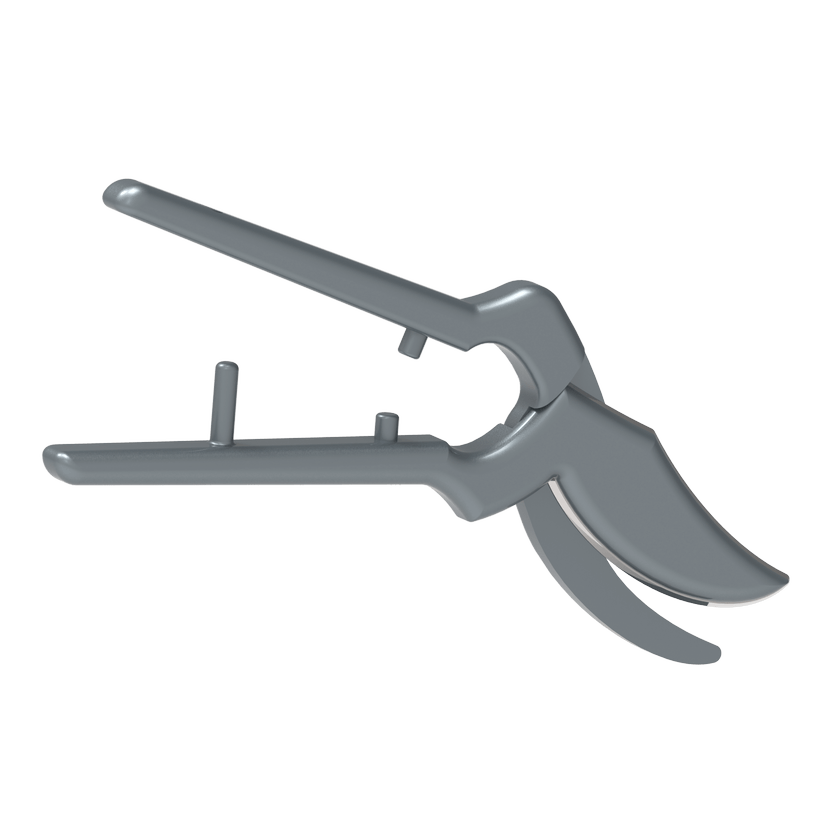
Sheet metal shears
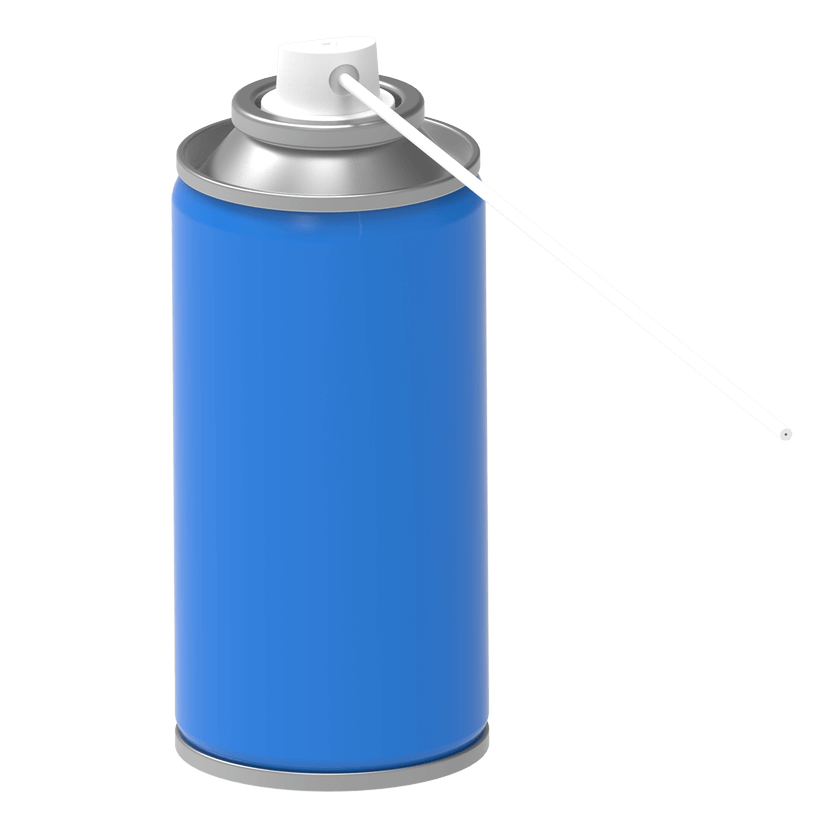
Gasket spray
Important information
Installation of the system in accordance with the following instructions guarantees the correct and reliable operation of the KROP PVC Square Gutter System.
- The KROP PVC Square Gutter System should not be installed below 5°C.
- The PVC material from which the gutter system is made requires consideration of the phenomenon of thermal expansion of the system components. Properly designed and installed fittings of the system in question ensure proper temperature compensation of long elements.
- The mounting elements of the system (gutter hooks, steel clamp) allow gutters and downpipes to move freely.
- It is recommended to store the system in its original packaging and in a shady place until installation.
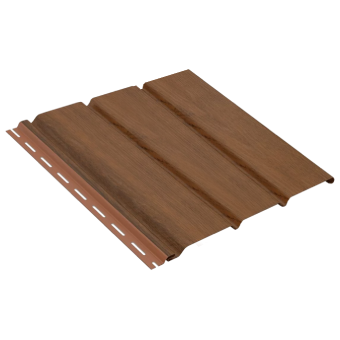
1. Preparation of the roof structure and installation of hooks
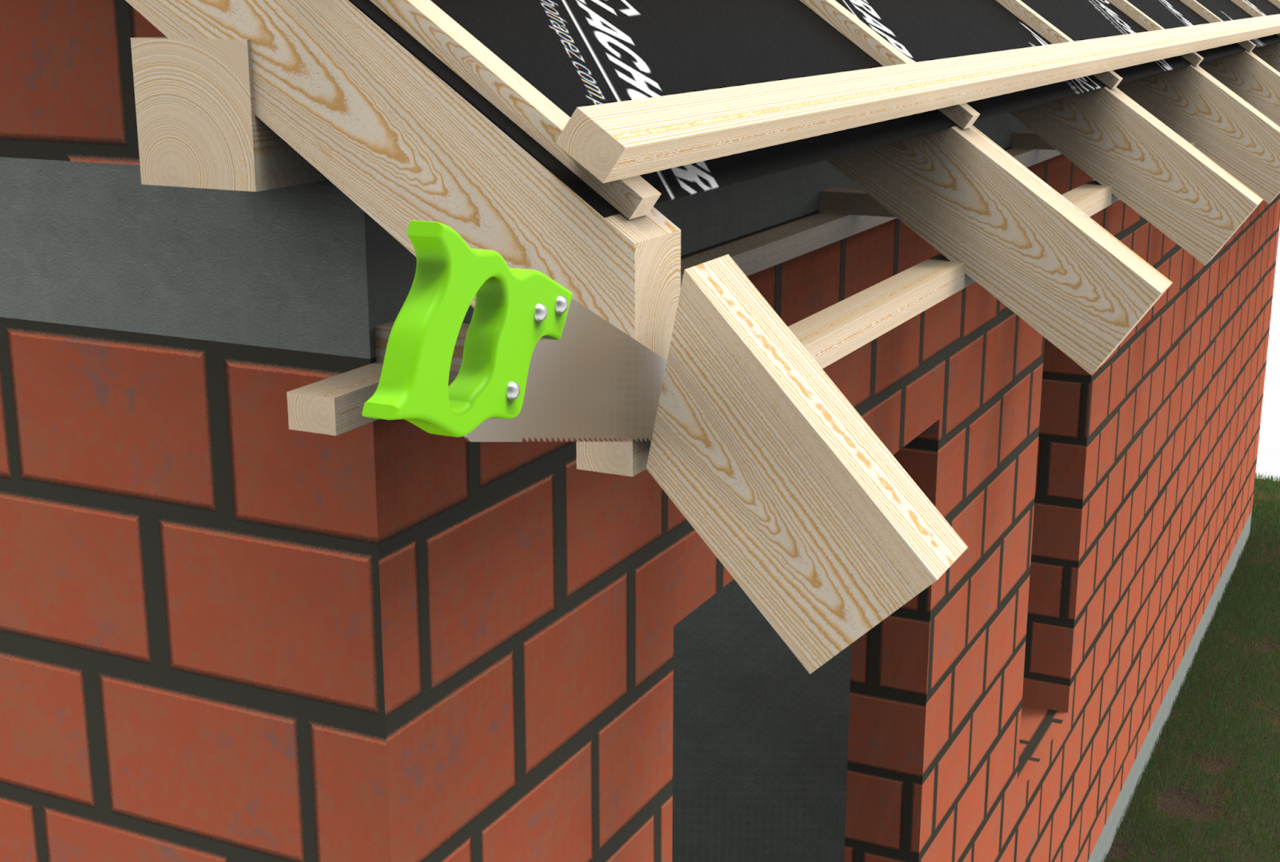
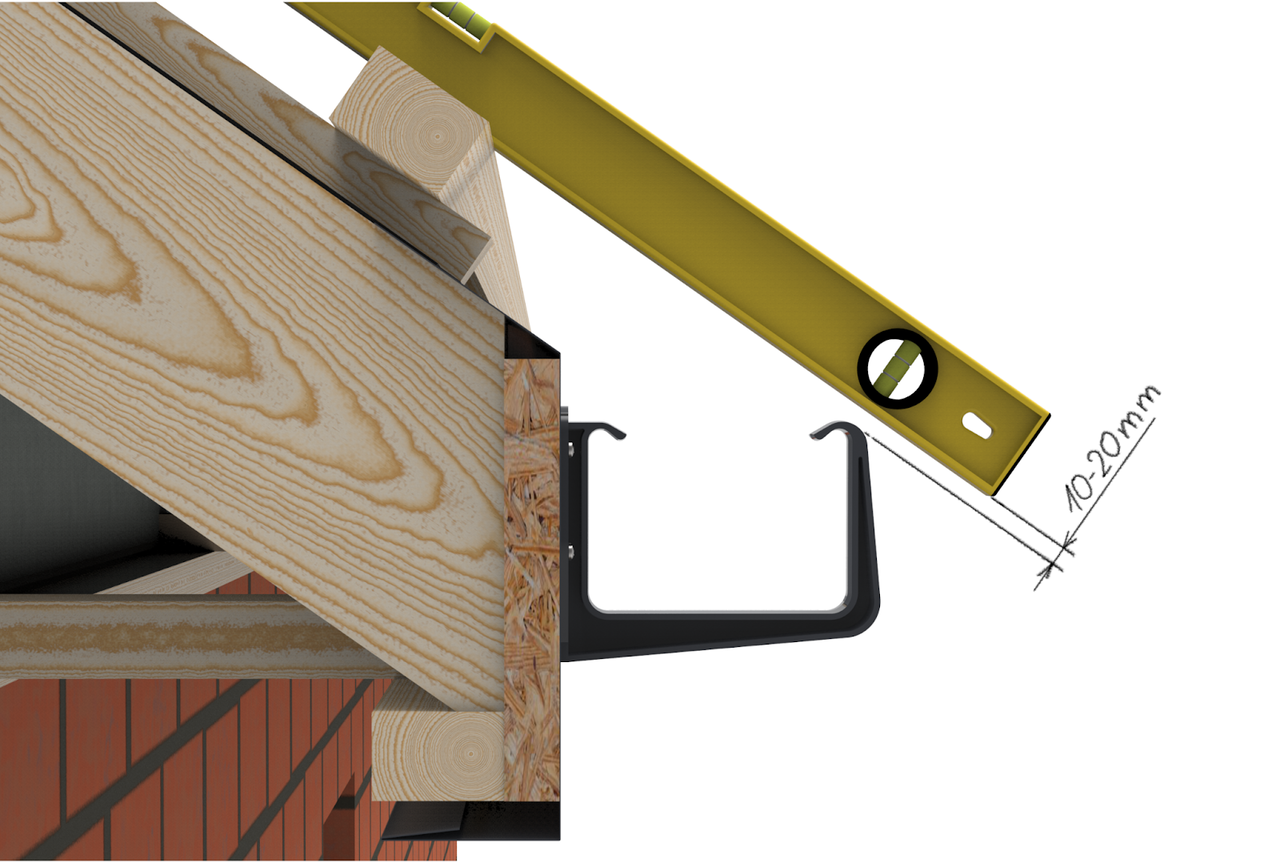
In order to properly install the Square Gutter System, we cut the rafters in the right way.
It is necessary to plan the alignment of the gutter with respect to the roof end so that the line drawn as its extension is 10-20mm from the outer edge of the gutter. The above alignment should protect the gutters from the impact of sliding snow. If the above guideline cannot be followed, snow fences should be installed on the roof to reduce the risk of gutter damage from sliding snow.
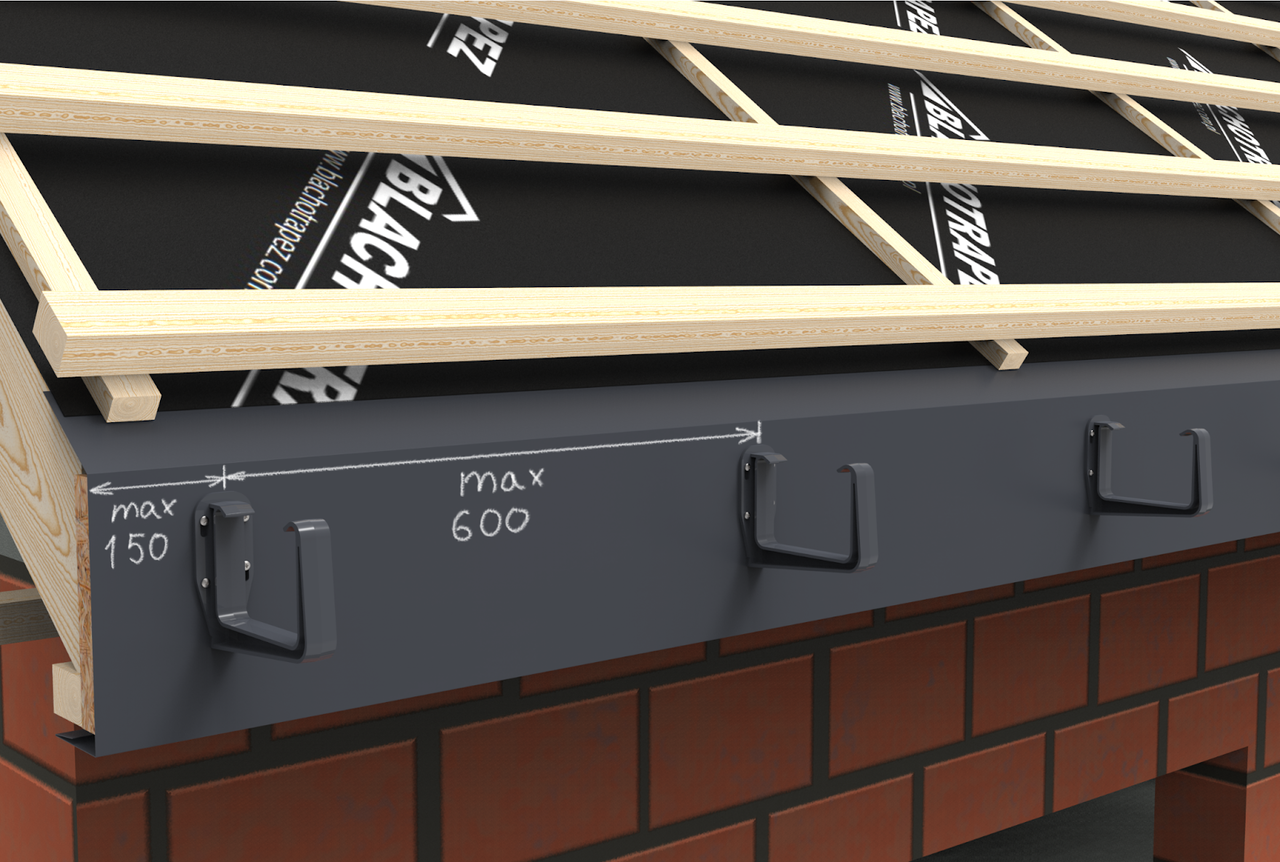
The recommended hook spacing for the square gutter system is 60 cm..
2. Determining the correct slope of gutters
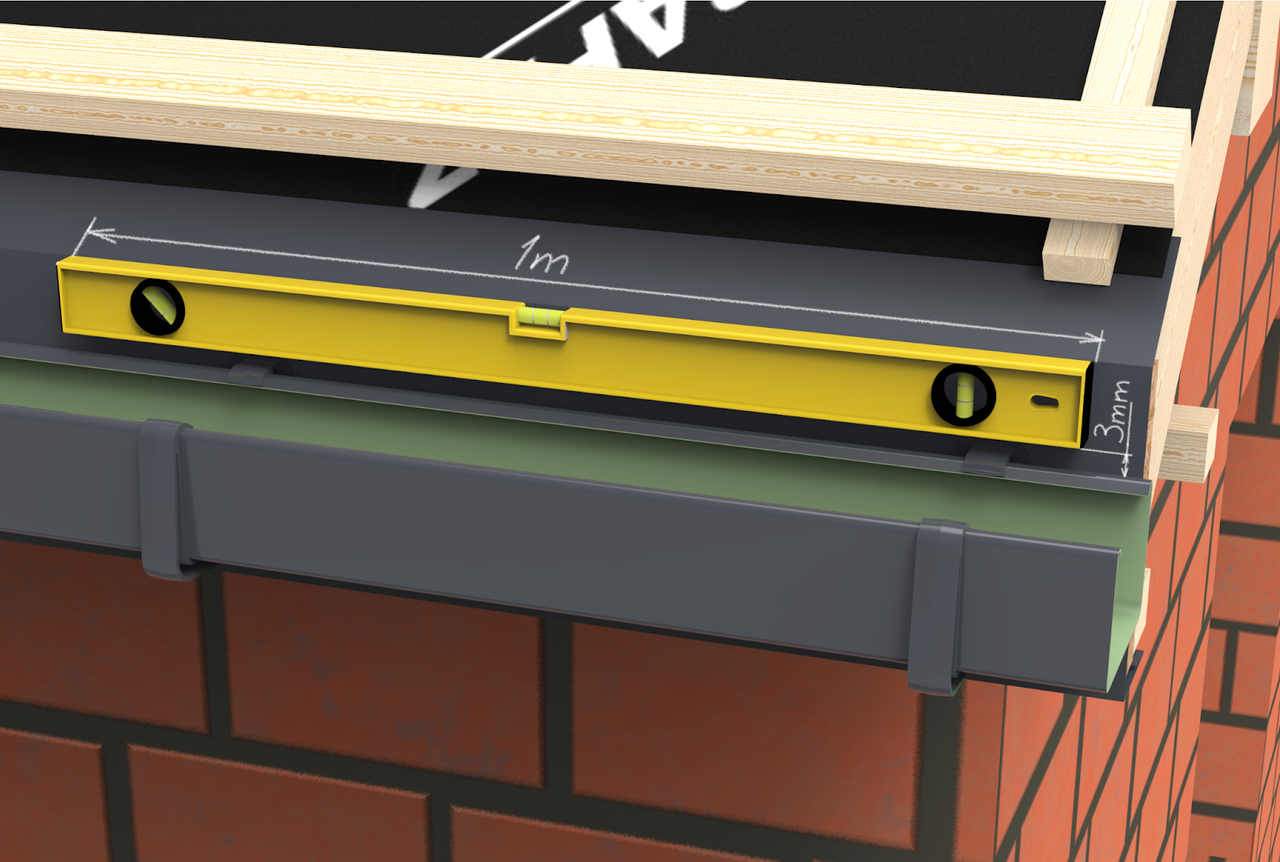
When placing the hooks for the SGS, it is important to keep in mind the correct slope of the gutter, for this purpose the gutter should have a slope towards the drain funnel, which is about 3° (i.e. 3 mm of slope per 1 meter of gutter). To achieve the correct slope, first the hook furthest from the funnel should be installed and then the hook at the drain funnel. When determining the location of the remaining hooks, we recommend using a string.
Properly installed hooks will prevent the system from leaking at gutter joints.
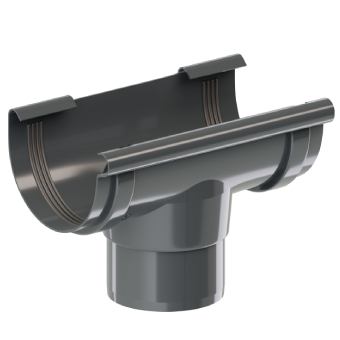
3. Determining the position and preparing the opening for the drain funnel
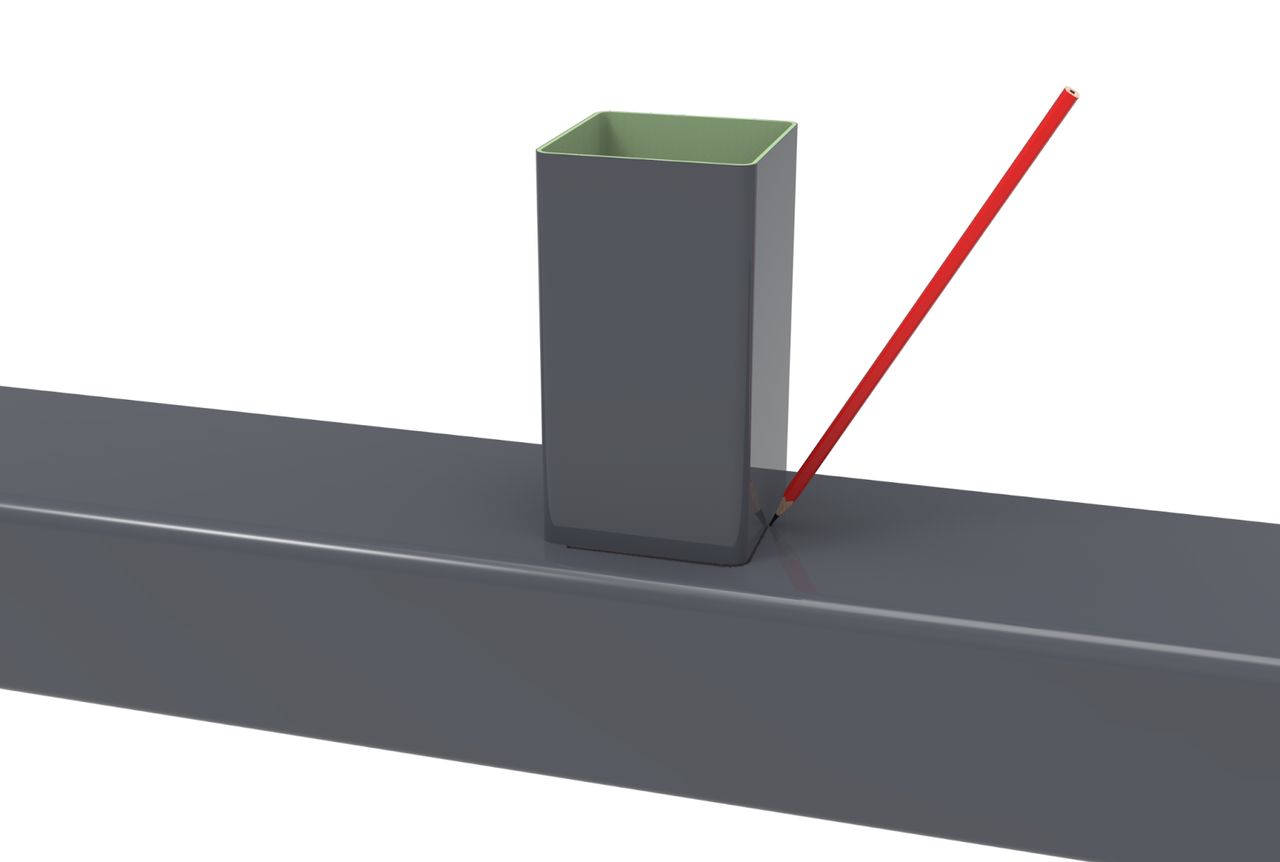

An equal step in the installation of the SGS is to determine the position of the drain funnel, which is the lowest point of the system. The hooks should be installed at a distance of 15 cm from the edge of the drain funnel and other gutter fittings such as universal: connector, bottom and corner.
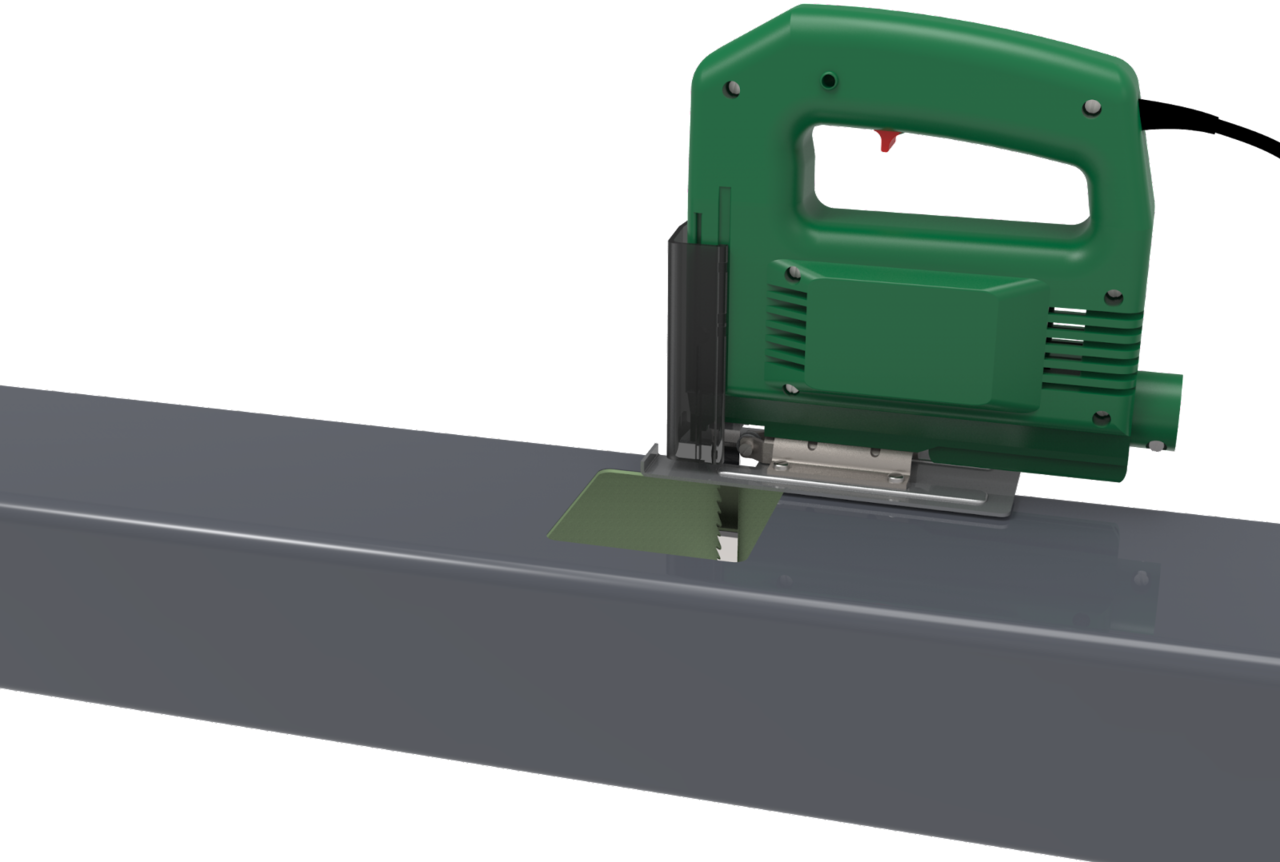
Having determined the location of the drain funnel, a square hole should be cut off in the bottom of the gutter, corresponding to the dimensions of the drain pipe. Use a jigsaw or scissors to cut the hole.
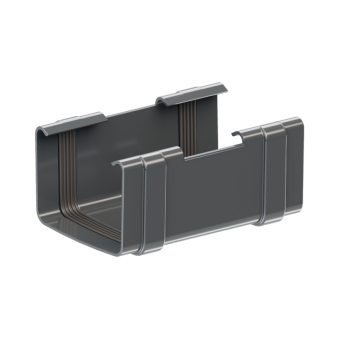
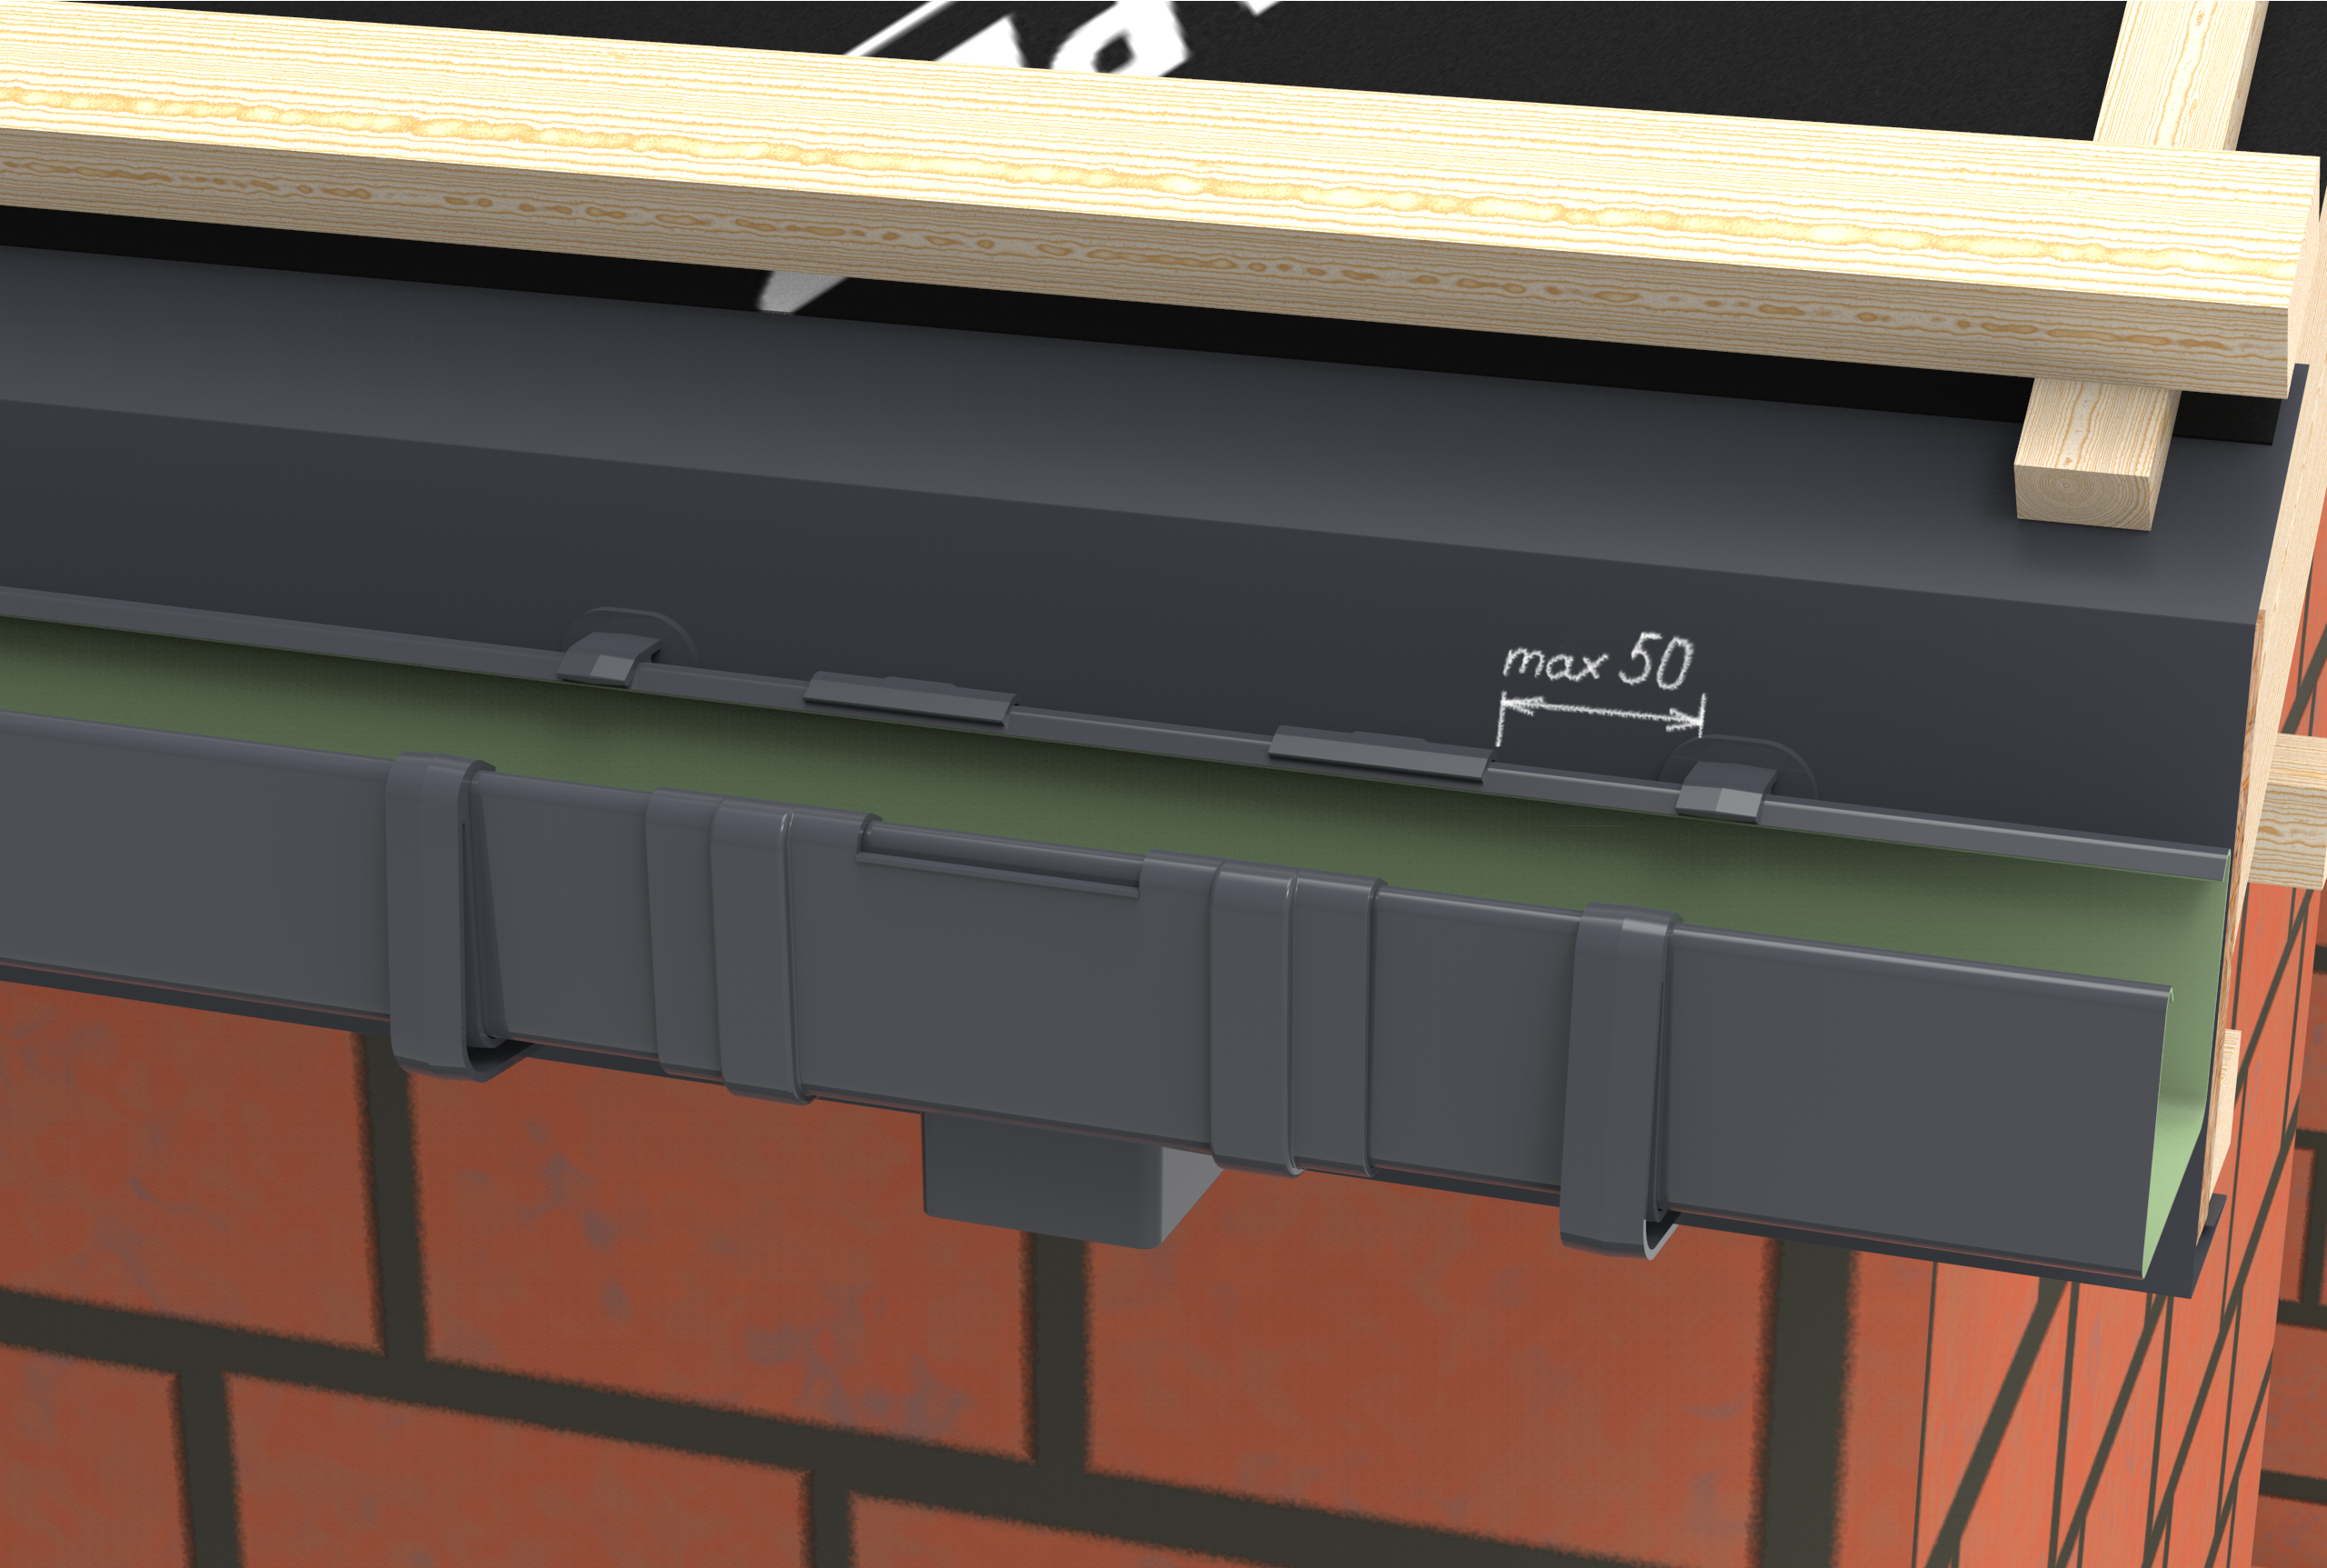
4. Installation of the gutter connector
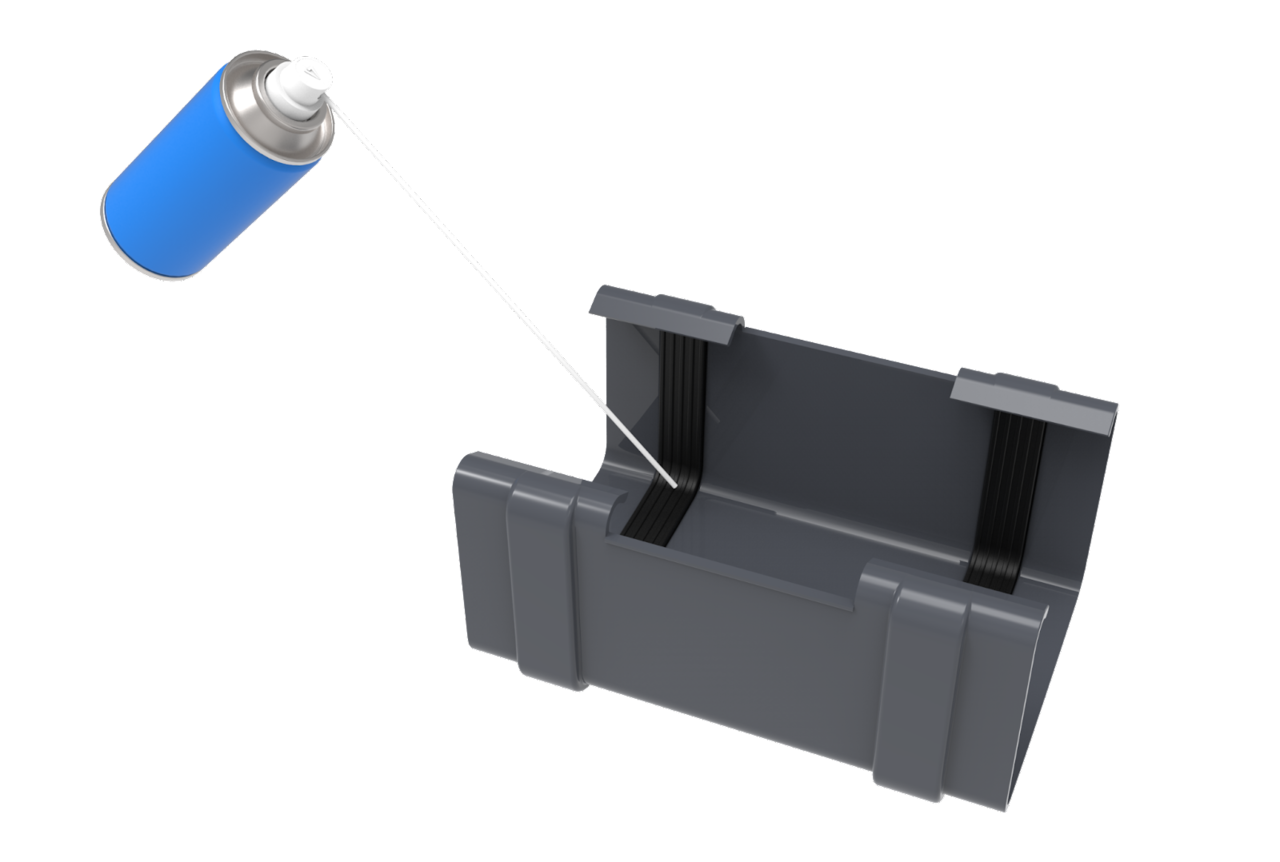
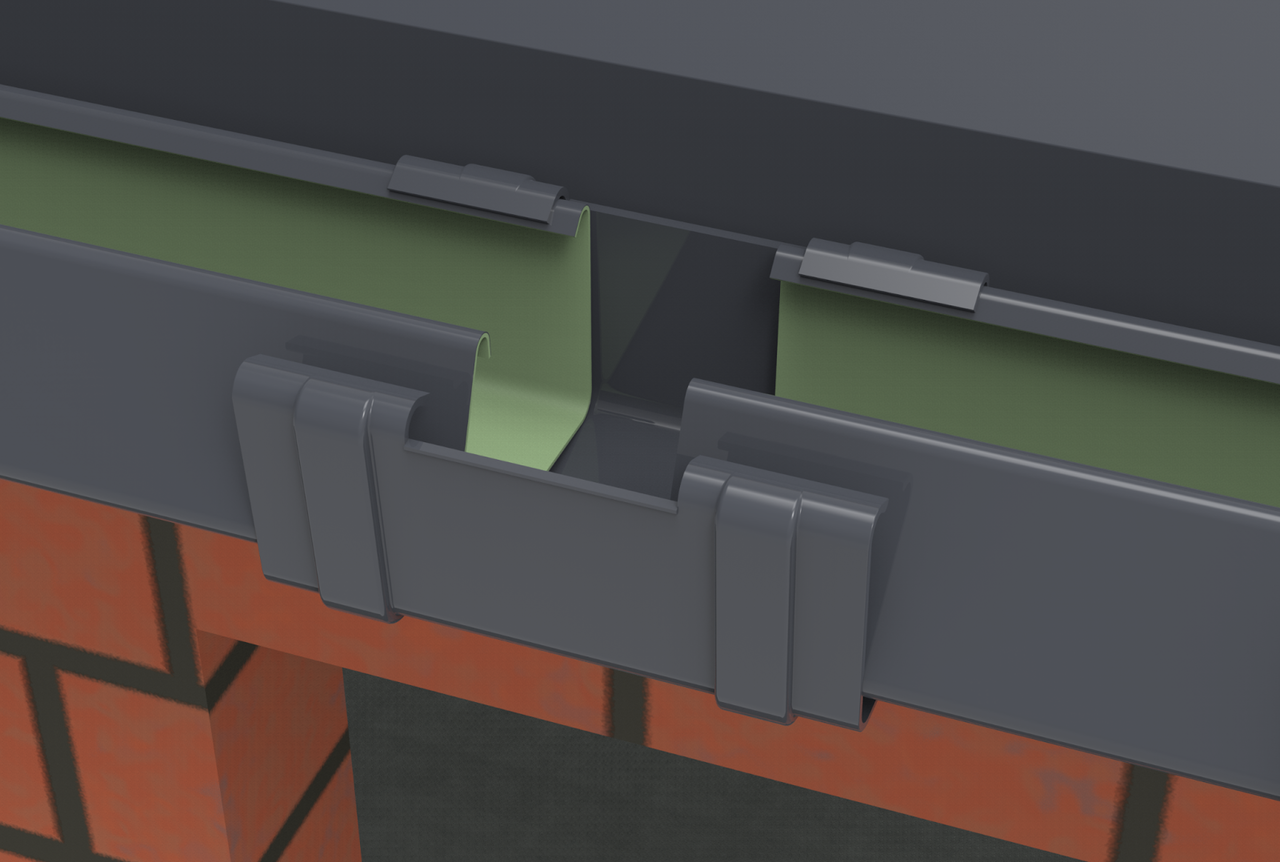
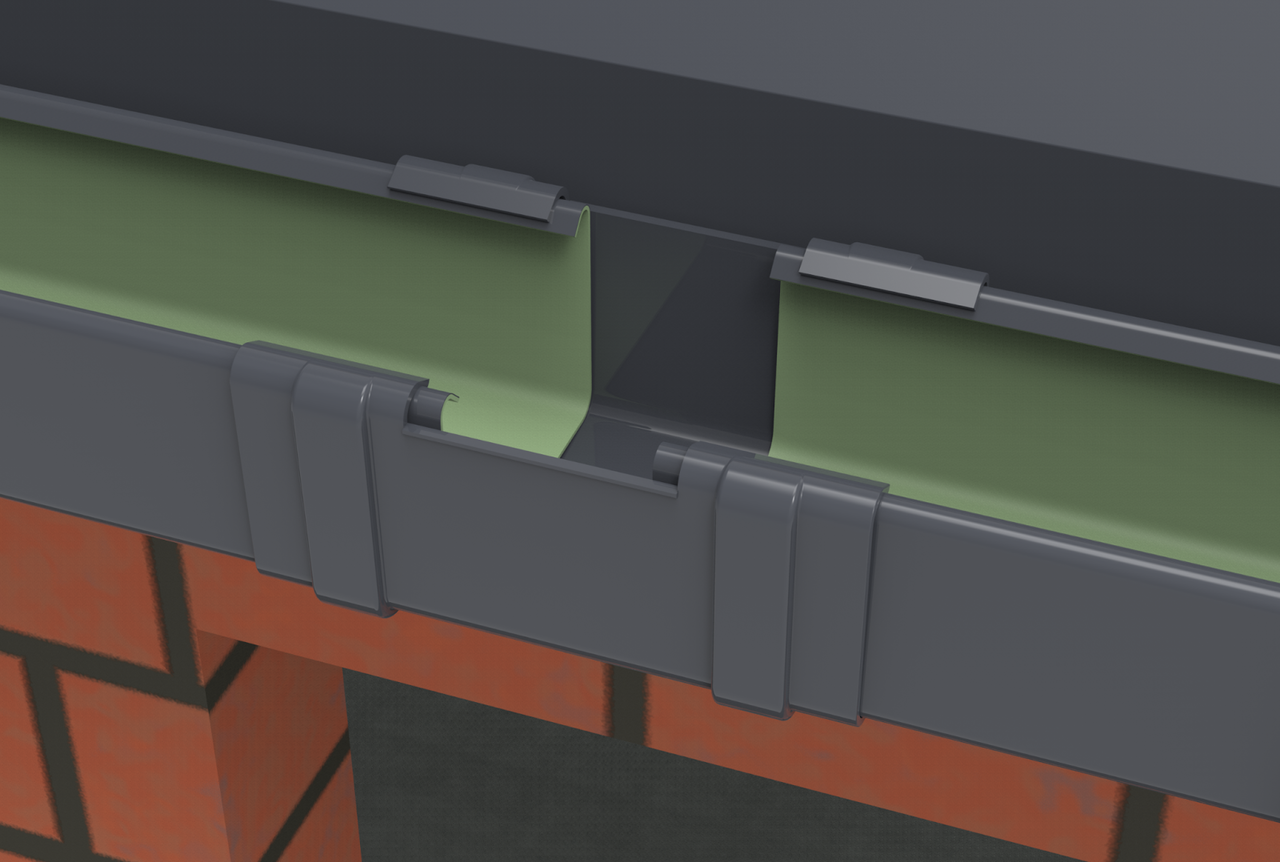
Before installing SGS gutter fittings, be sure to apply gasket spray. Following the above recommendation will allow easier installation of fittings and facilitate thermal movement of the gutter during temperature changes. When installing gutter fittings such as gutter connector, drain funnel and universal corner, the end of the gutter should be set about 1 cm from the end of the edge of the gully, so that the gutter edge spacing in the fittings does not exceed 5 cm.
5. Installation of the universal bottom
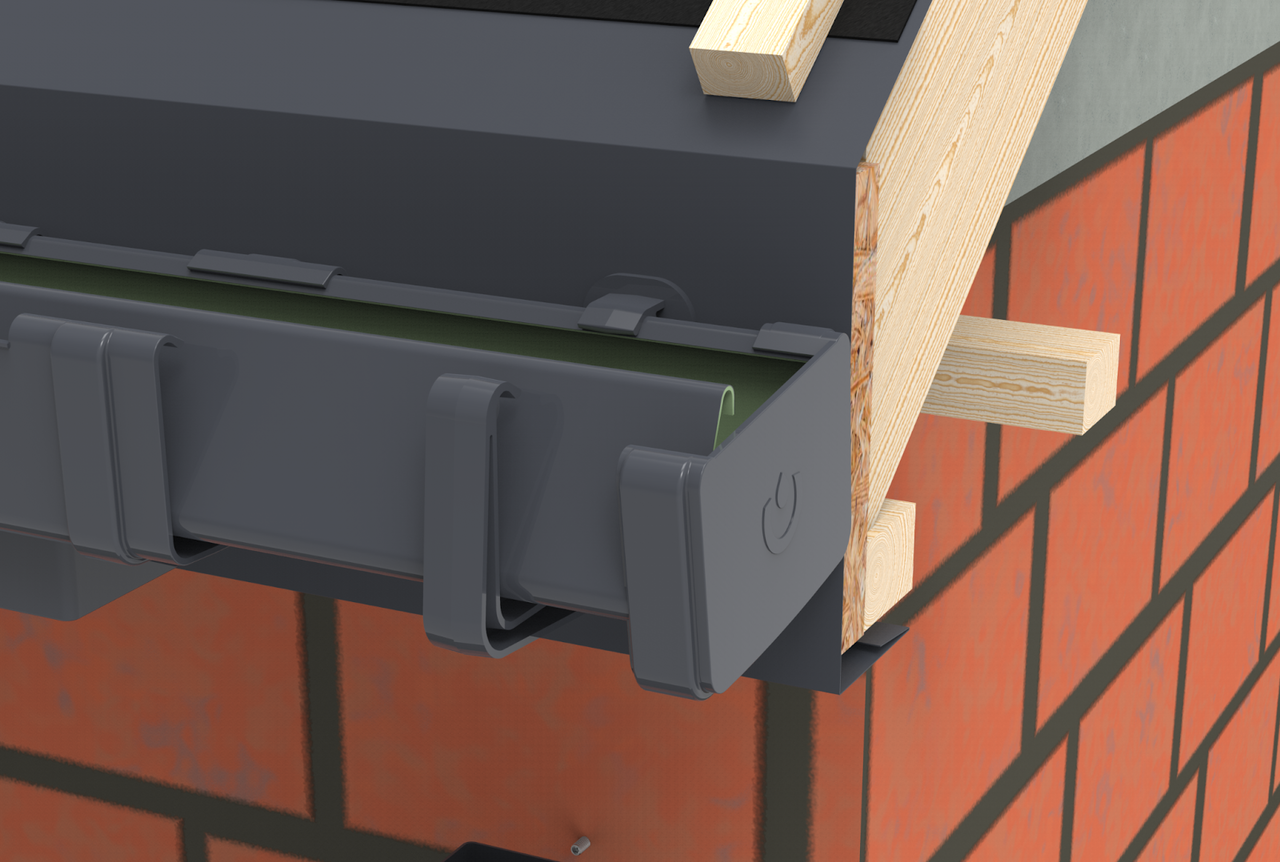
Universal bottoms should be installed at the ends of the gutters, and attention should be paid to the correct positioning of the gasket. To do this, use a gasket spray.
First, we install the rear part of the bottom, and then wedge its front part against the front overhang of the gutter.
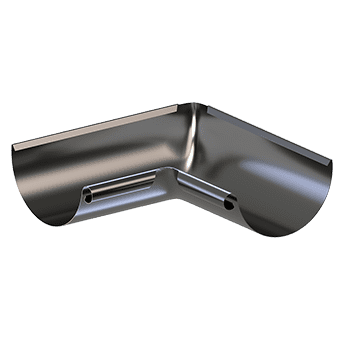
6. Installation of the universal corner
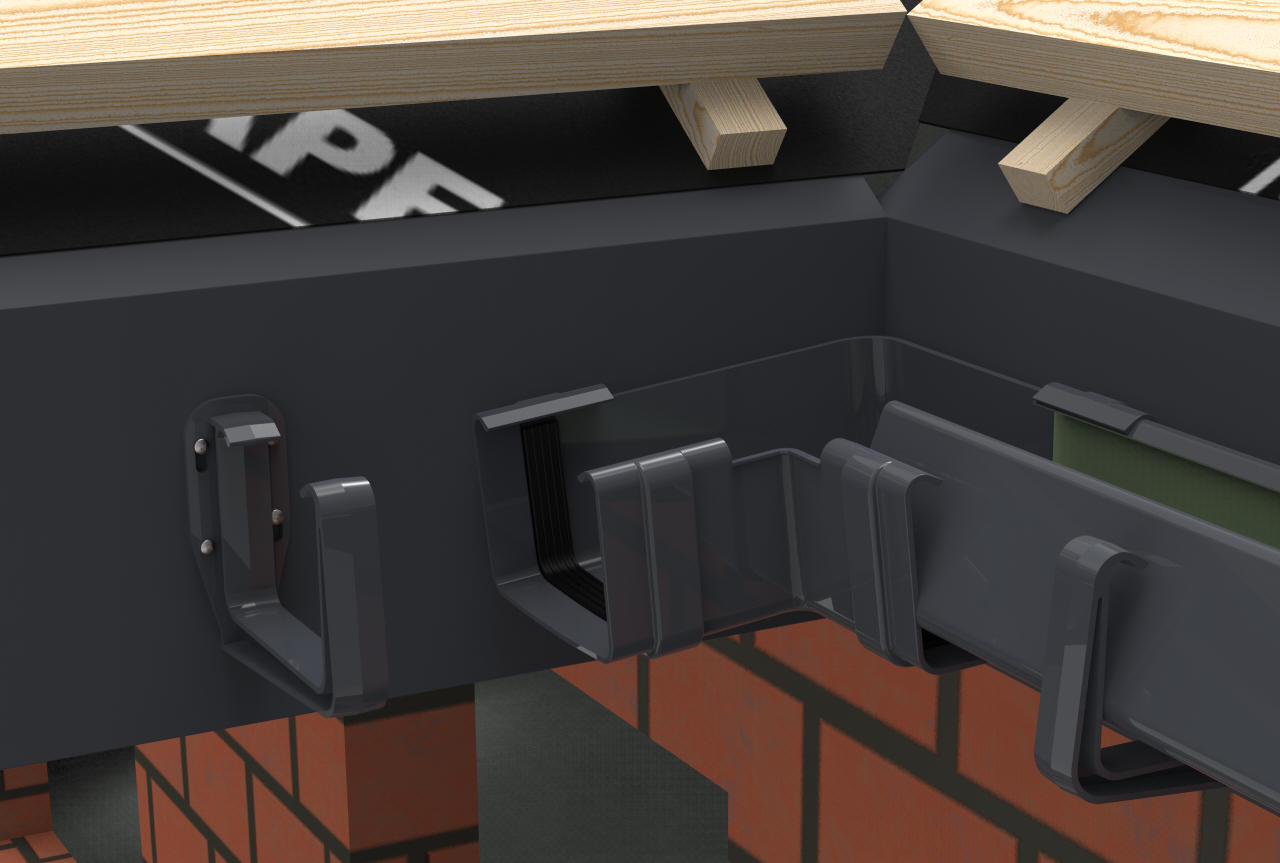
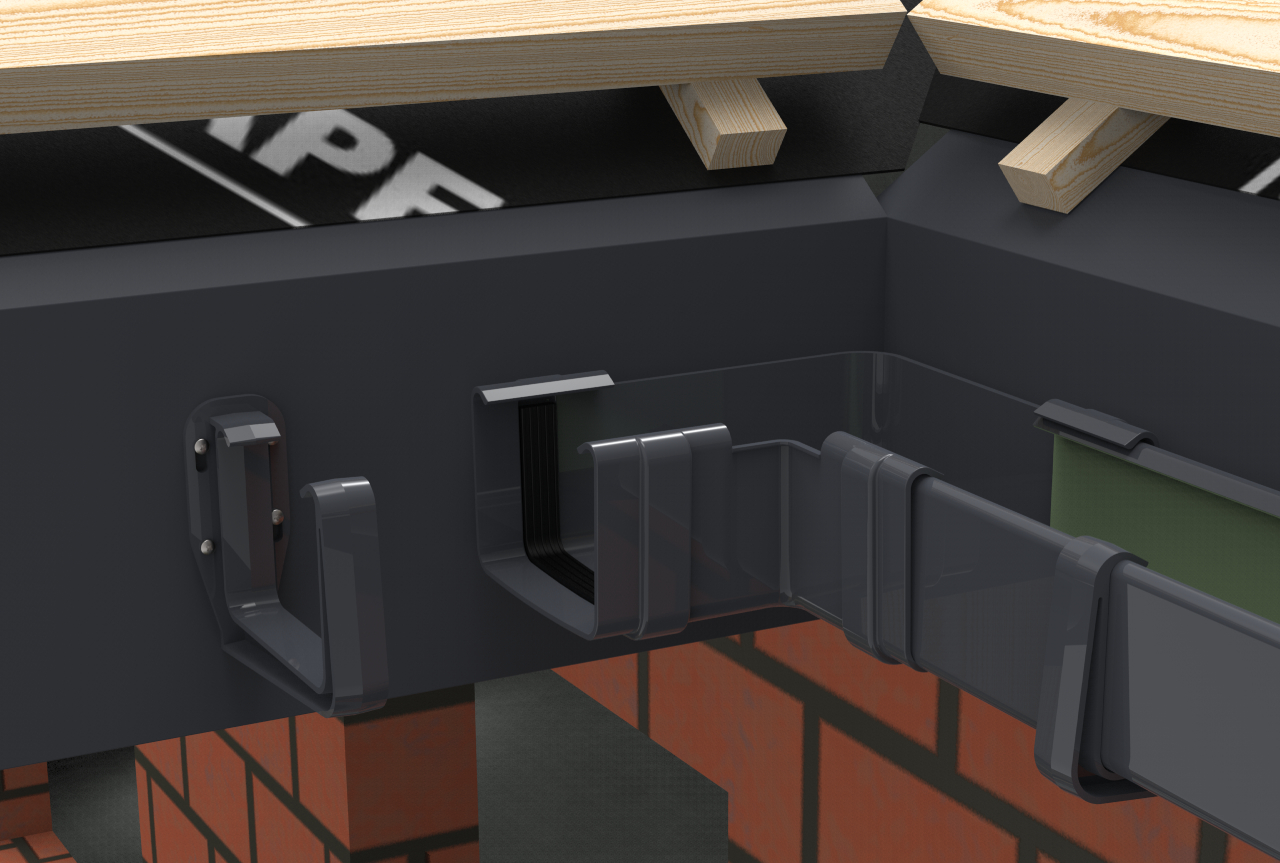

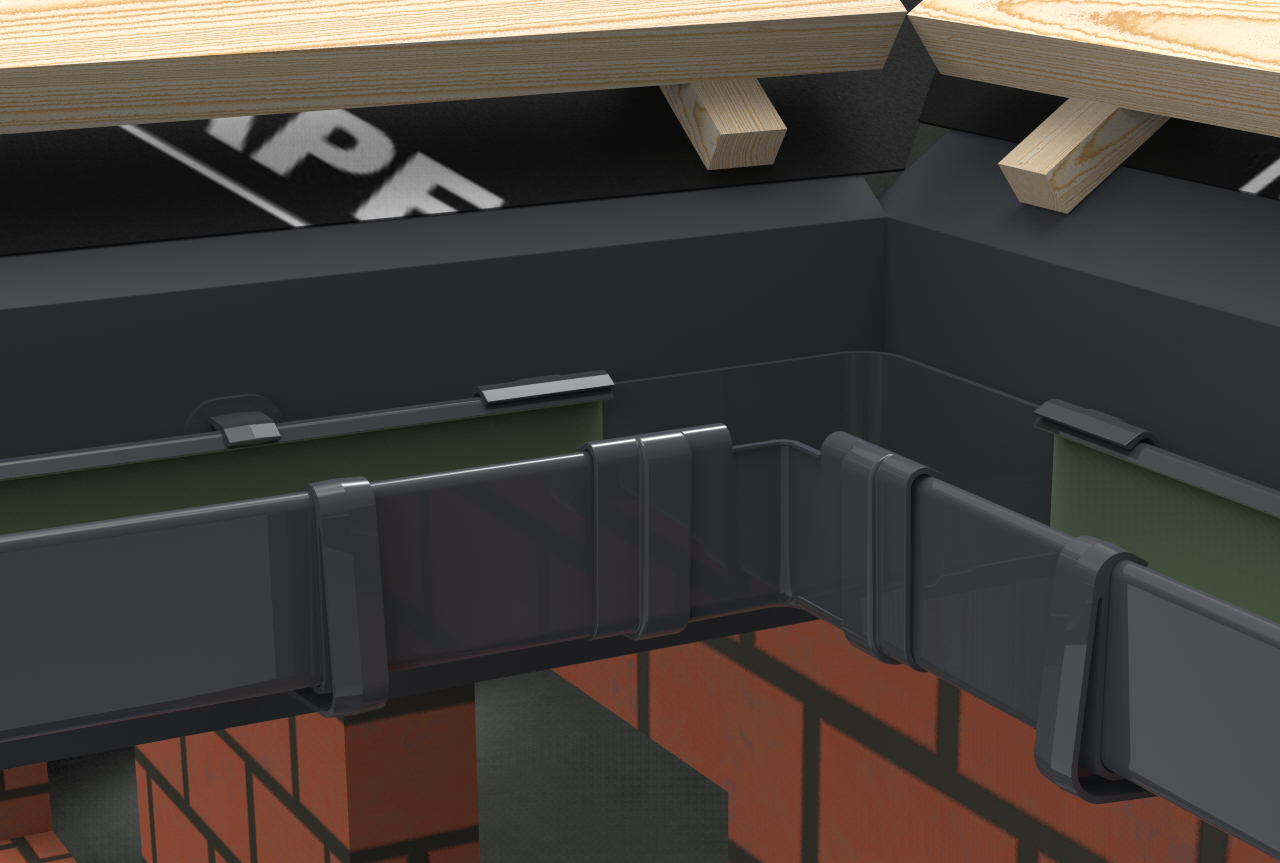
Installation of the universal corner begins by sliding the gutter into the rear overhang of the corner and then snapping the front of the gutter into the corner.
Pay attention to the correct gasket alignment. To do this, use a gasket spray.
7. Installation of a soil pipe

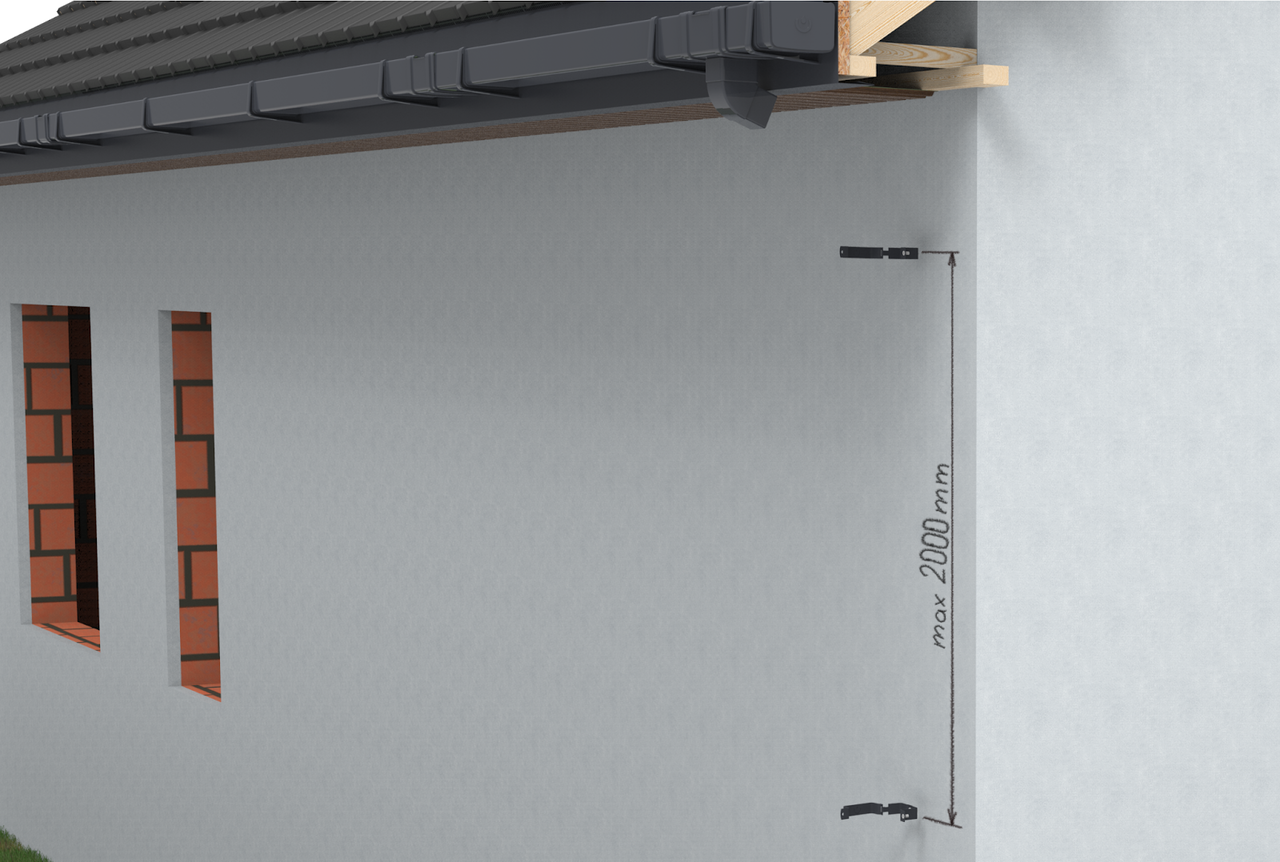
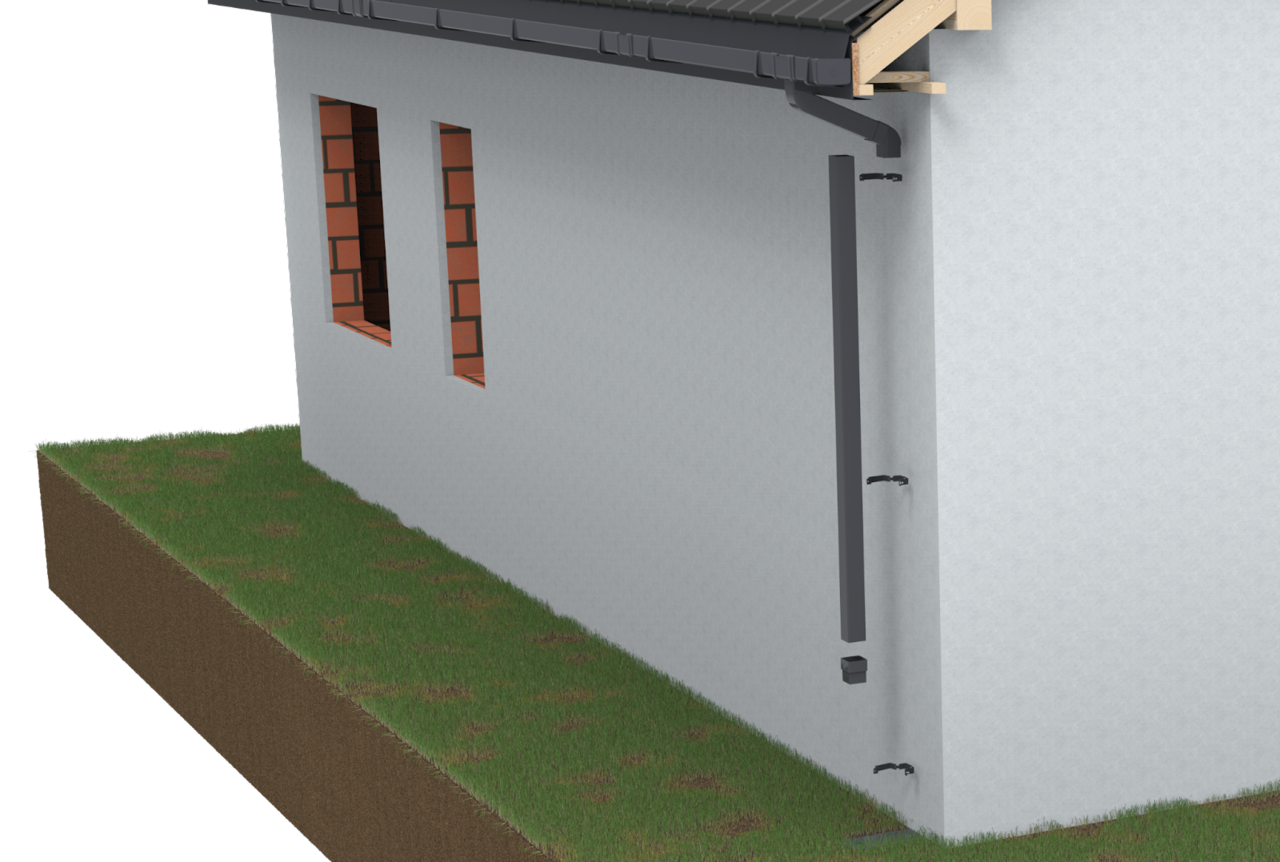
The soil pipe is connected to the pipe with an elbow or pipe fitting..
In order to install dowels in the façade, it is necessary to select their length according to the thickness of the building's insulation. The next step is to install the clamps on dowels with a maximum spacing of up to 2m.
The pipes should be placed in the clamps, making sure to apply enough pressure when screwing the clamp on the pipe to allow free thermal movement of the pipe.
8. Completion of installation
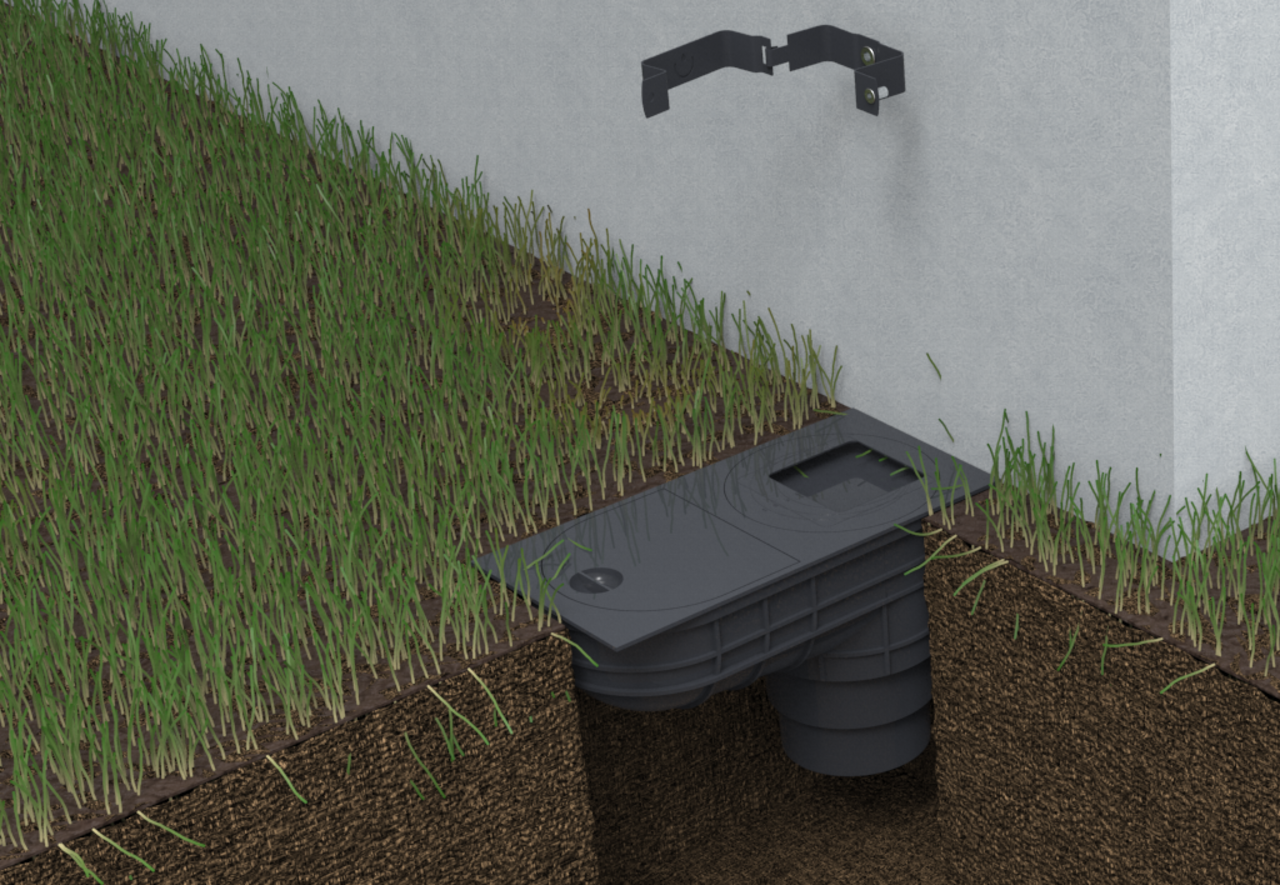
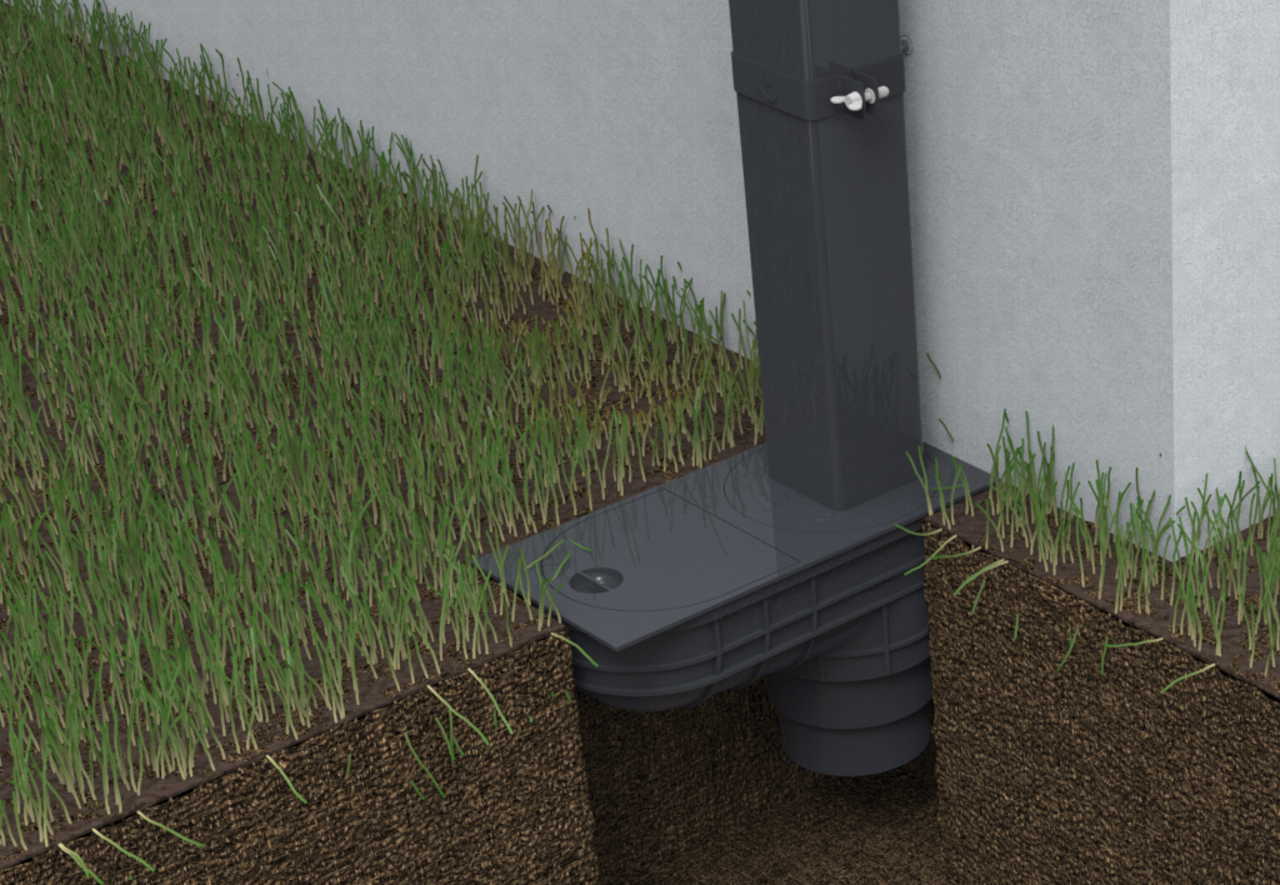

In order to discharge the SGS into the sewer system, a universal settling tank should be placed in the ground under the drain pipe. Cut a hole in the flap of the universal settling tank equal to the size of the drain pipe and then insert it into the hole of the settling tank flap.
In order to drain the square gutter system to the ground, an elbow should be installed at the end of the drain pipe.


